Upholstered Headboard
Our first apartment together had some great details: spiral staircase, 2-story ceiling, exposed wood and iron beams. Leaning on exposed brickwork, however, does not make for comfortable reading in bed.
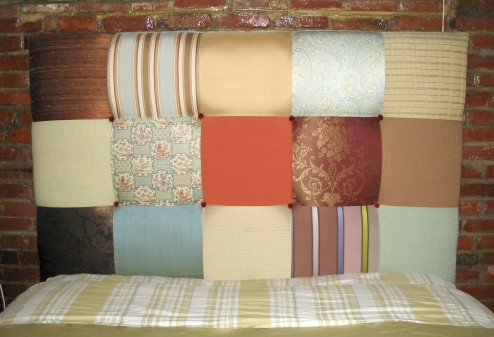
 I was surprised on how expensive headboards could be, until I saw this image on Apartment Therapy. So delightful, upholstered and so easy to make!
A kind contact had recently given me 3 generous garbage bags of scraps from an upholstery and window treatment company. (And by ‘scraps’, I mean a half-yard to 2-yards of silks and other high-end interior fabrics.) They came in handy for this project.
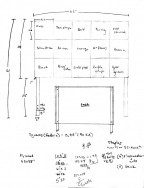
 I took some measurements and determined the headboard should 63″ wide by 38″ high, with a depth equal to a 1 x 3 plus the plywood. I sewed together 15 12.6-inch squares (13.85-inch blocks with a 5/8 inch seam allowance), including corresponding strips to cover the depth of the frame.
Taking my initial sketch with me to the local big box hardware store, I walked out with 3/4 inch plywood I had them cut to size, 1 x 3s for the depth and legs as well as a new staple gun.
Next was a trip to Katz Foam & Fabrics in Philadelphia. They helped me out with foam a thick upholstery foam for about $30.
Lastly, I picked up some quilt batting, nylon upholstery cover buttons, and long upholstery needles to sew buttons through for tufting..
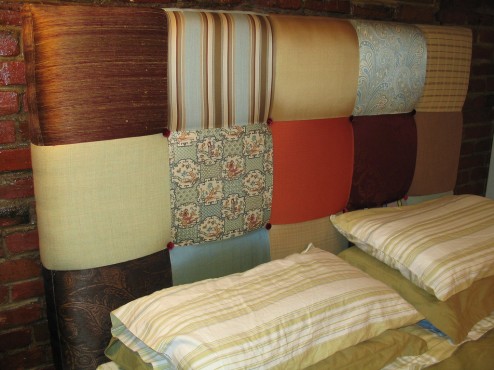
Brandishing power tools, I set about assembling the frame. After pre-drilling holes around the perimeter, The 1 x 3s were attached to give the frame a depth of 3.75 inches. I affixed the legs at this point too, but it could have easily waited until the end.
With the frame complete, I applied the foam, covered it with batting so the batting wrapped around to the back, fastening it to the frame with the staple gun. The last layer of the sandwich was the patchwork cover, which again was stretched and stapled.
To make the tufted effect, I wrapped the nylon upholstery buttons with red velvet and drilled holes in the back of the frame to correspond with the corners of the blocks. I think the most difficult part of this whole project was threading and pulling the buttons tight. Every type of tread I tried would break with the tension. So I found some 14-16 gauge wire in my stash and used that instead. It held, and I needed to staple the ends to the back of the board to keep them tight.
Finally, I drilled holes in the ‘legs’ and bolted the whole thing to the frame (as to not have to drill hole into brick).
In the new house, I may look into removing the legs and finally attaching it to the wall with a french cleat.
Materials
- 3/4″ Plywood
- 1 x 3 x 6 and a 1 x 3 x 8, cut to (2) 38″, (1) 60″, (2) 60″
- Upholstery Foam: 63 x 38″
- Polyester Batting: 77″ x 48″
- Staple Gun
- Fabric for cover
- Thread
- Nylon Upholstery Cover Buttons
- Drill
- Nuts and bolts to attach to bed frame
Cost: $84


